|
|

|
Nick Carter, PhD
Owner, npc Solar
 NABCEP Certified
PV Installer
NYSERDA Approved PV Installer
(# PV4575)
|
|
|
|
|
|
|
|
 |
|
|
Every 4-5,000 miles the batteries must be watered with distilled water
|
|
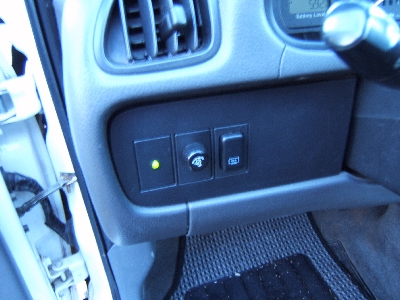
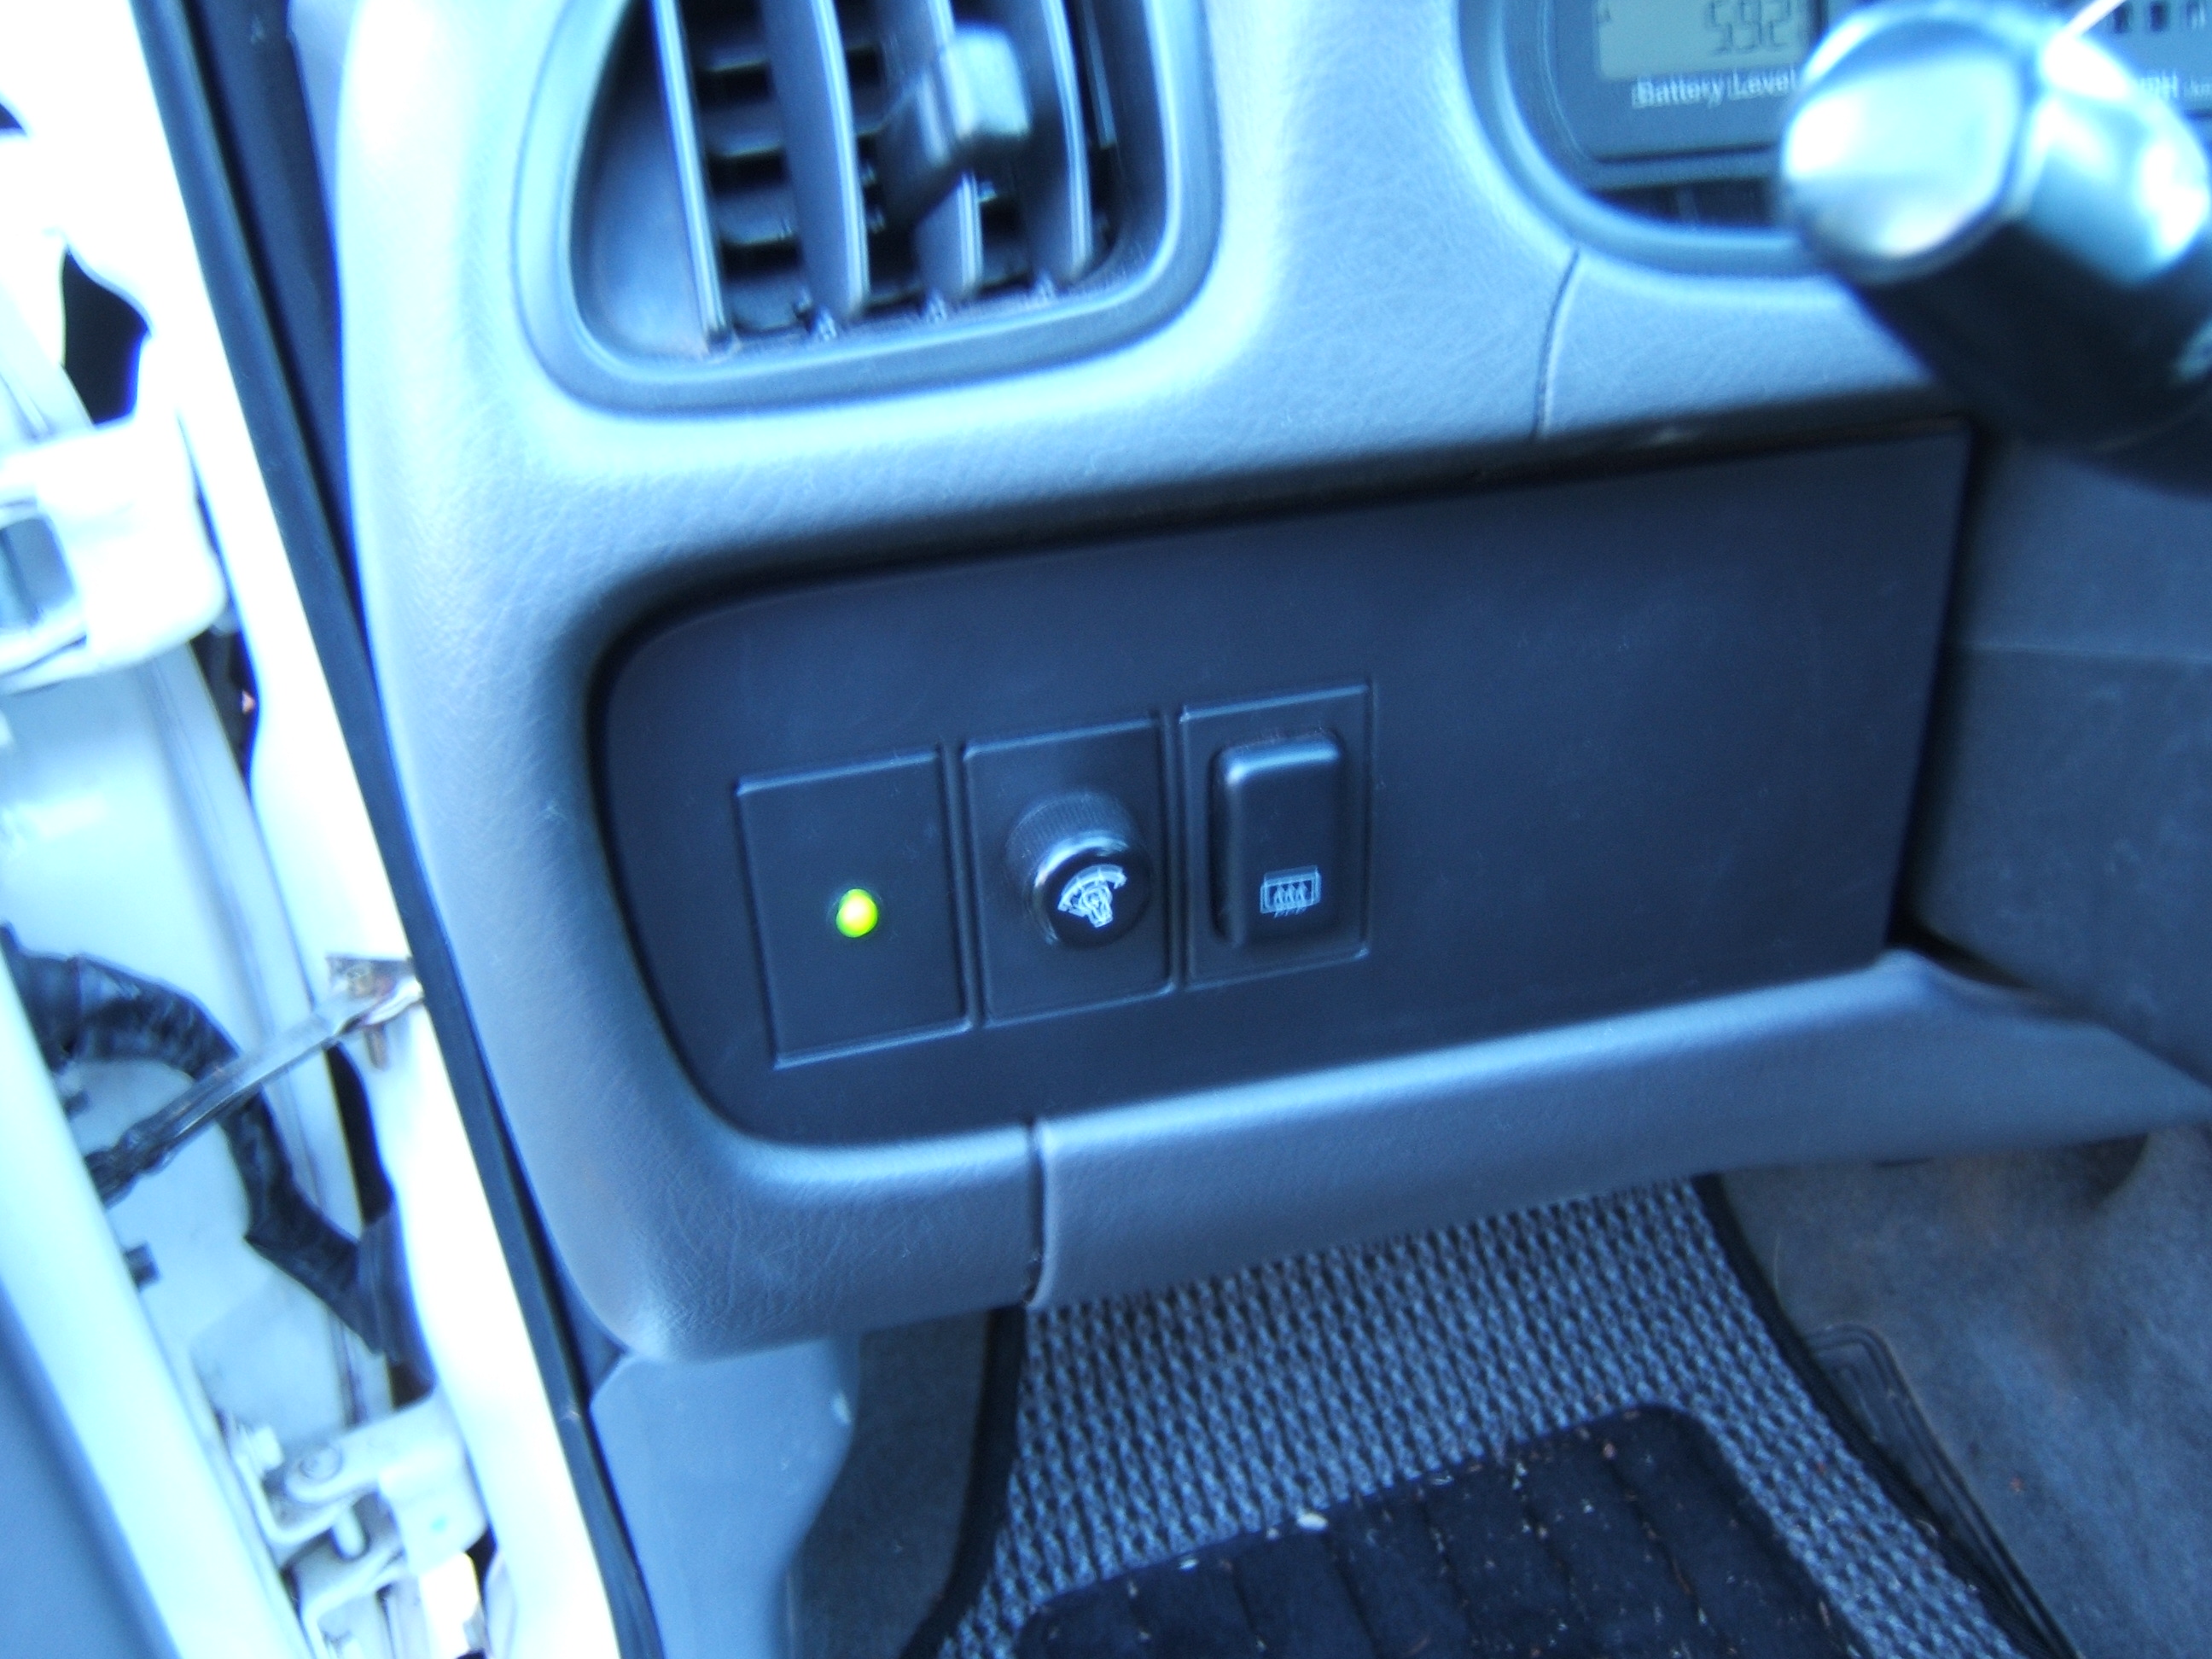
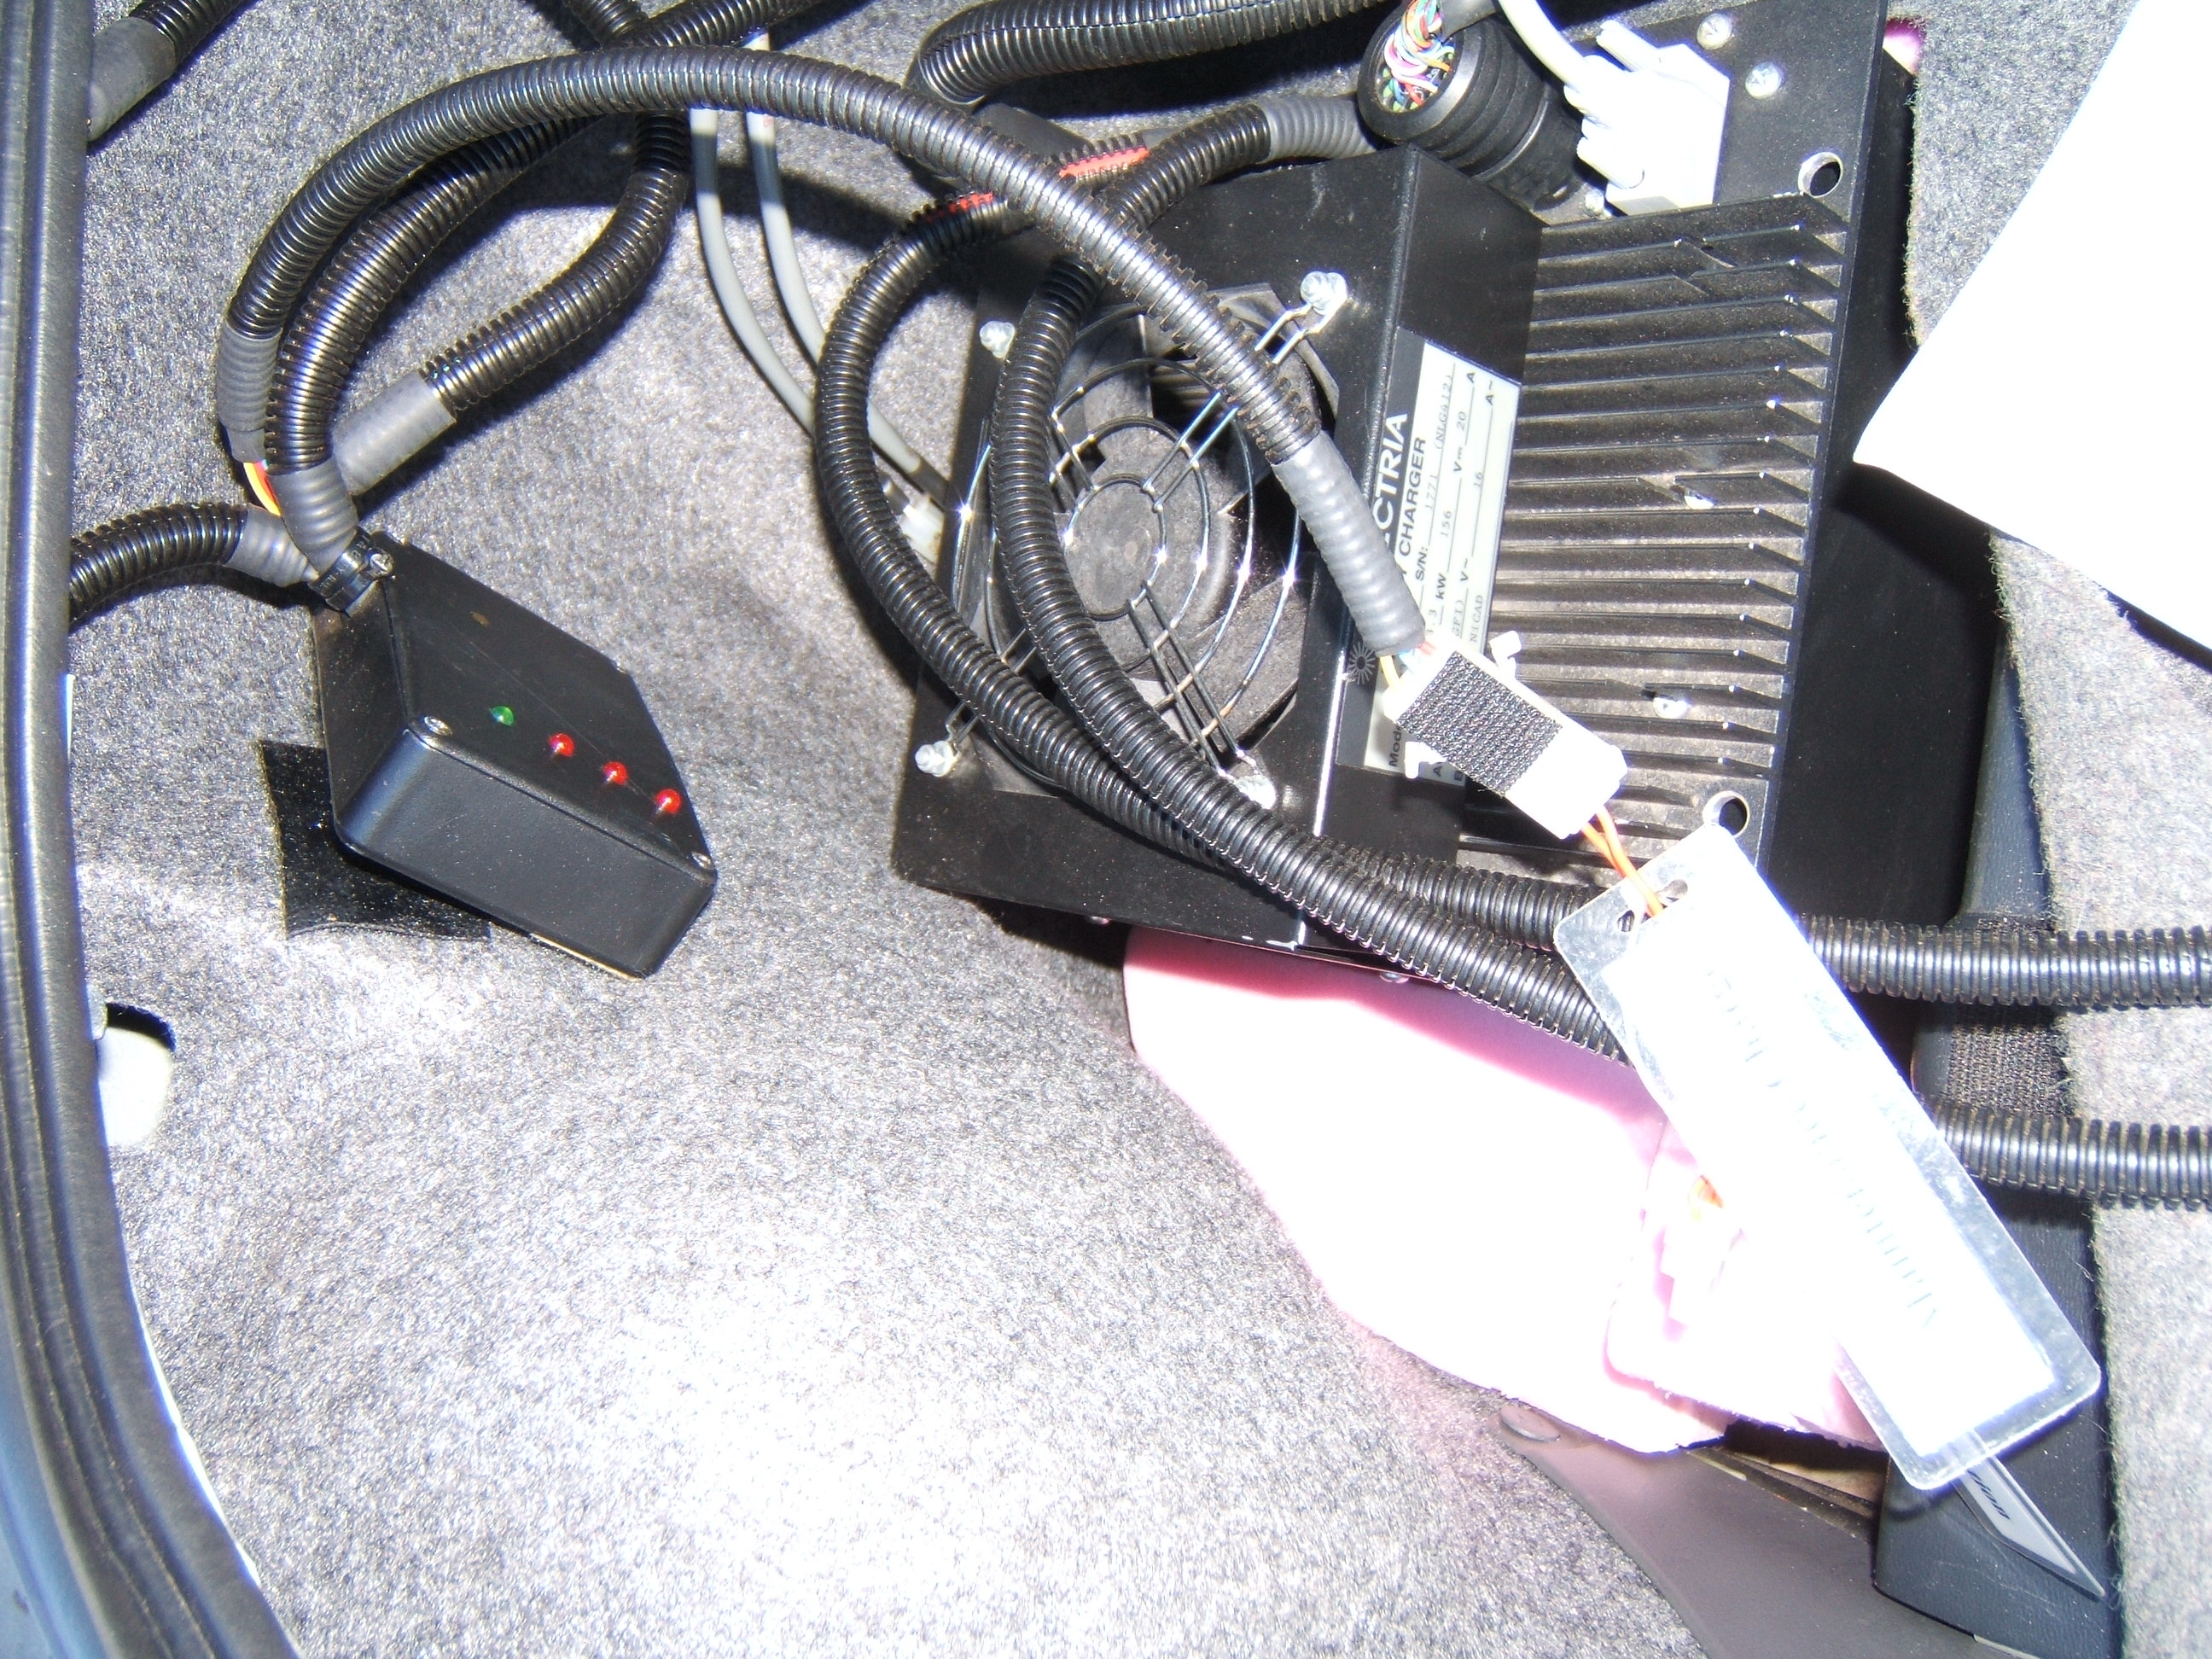
When the charger determines that watering is due, a green light comes on in the dash,
to the left of the steering wheel.
|
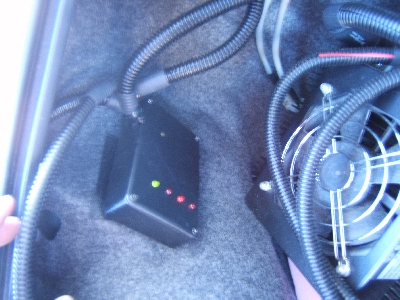
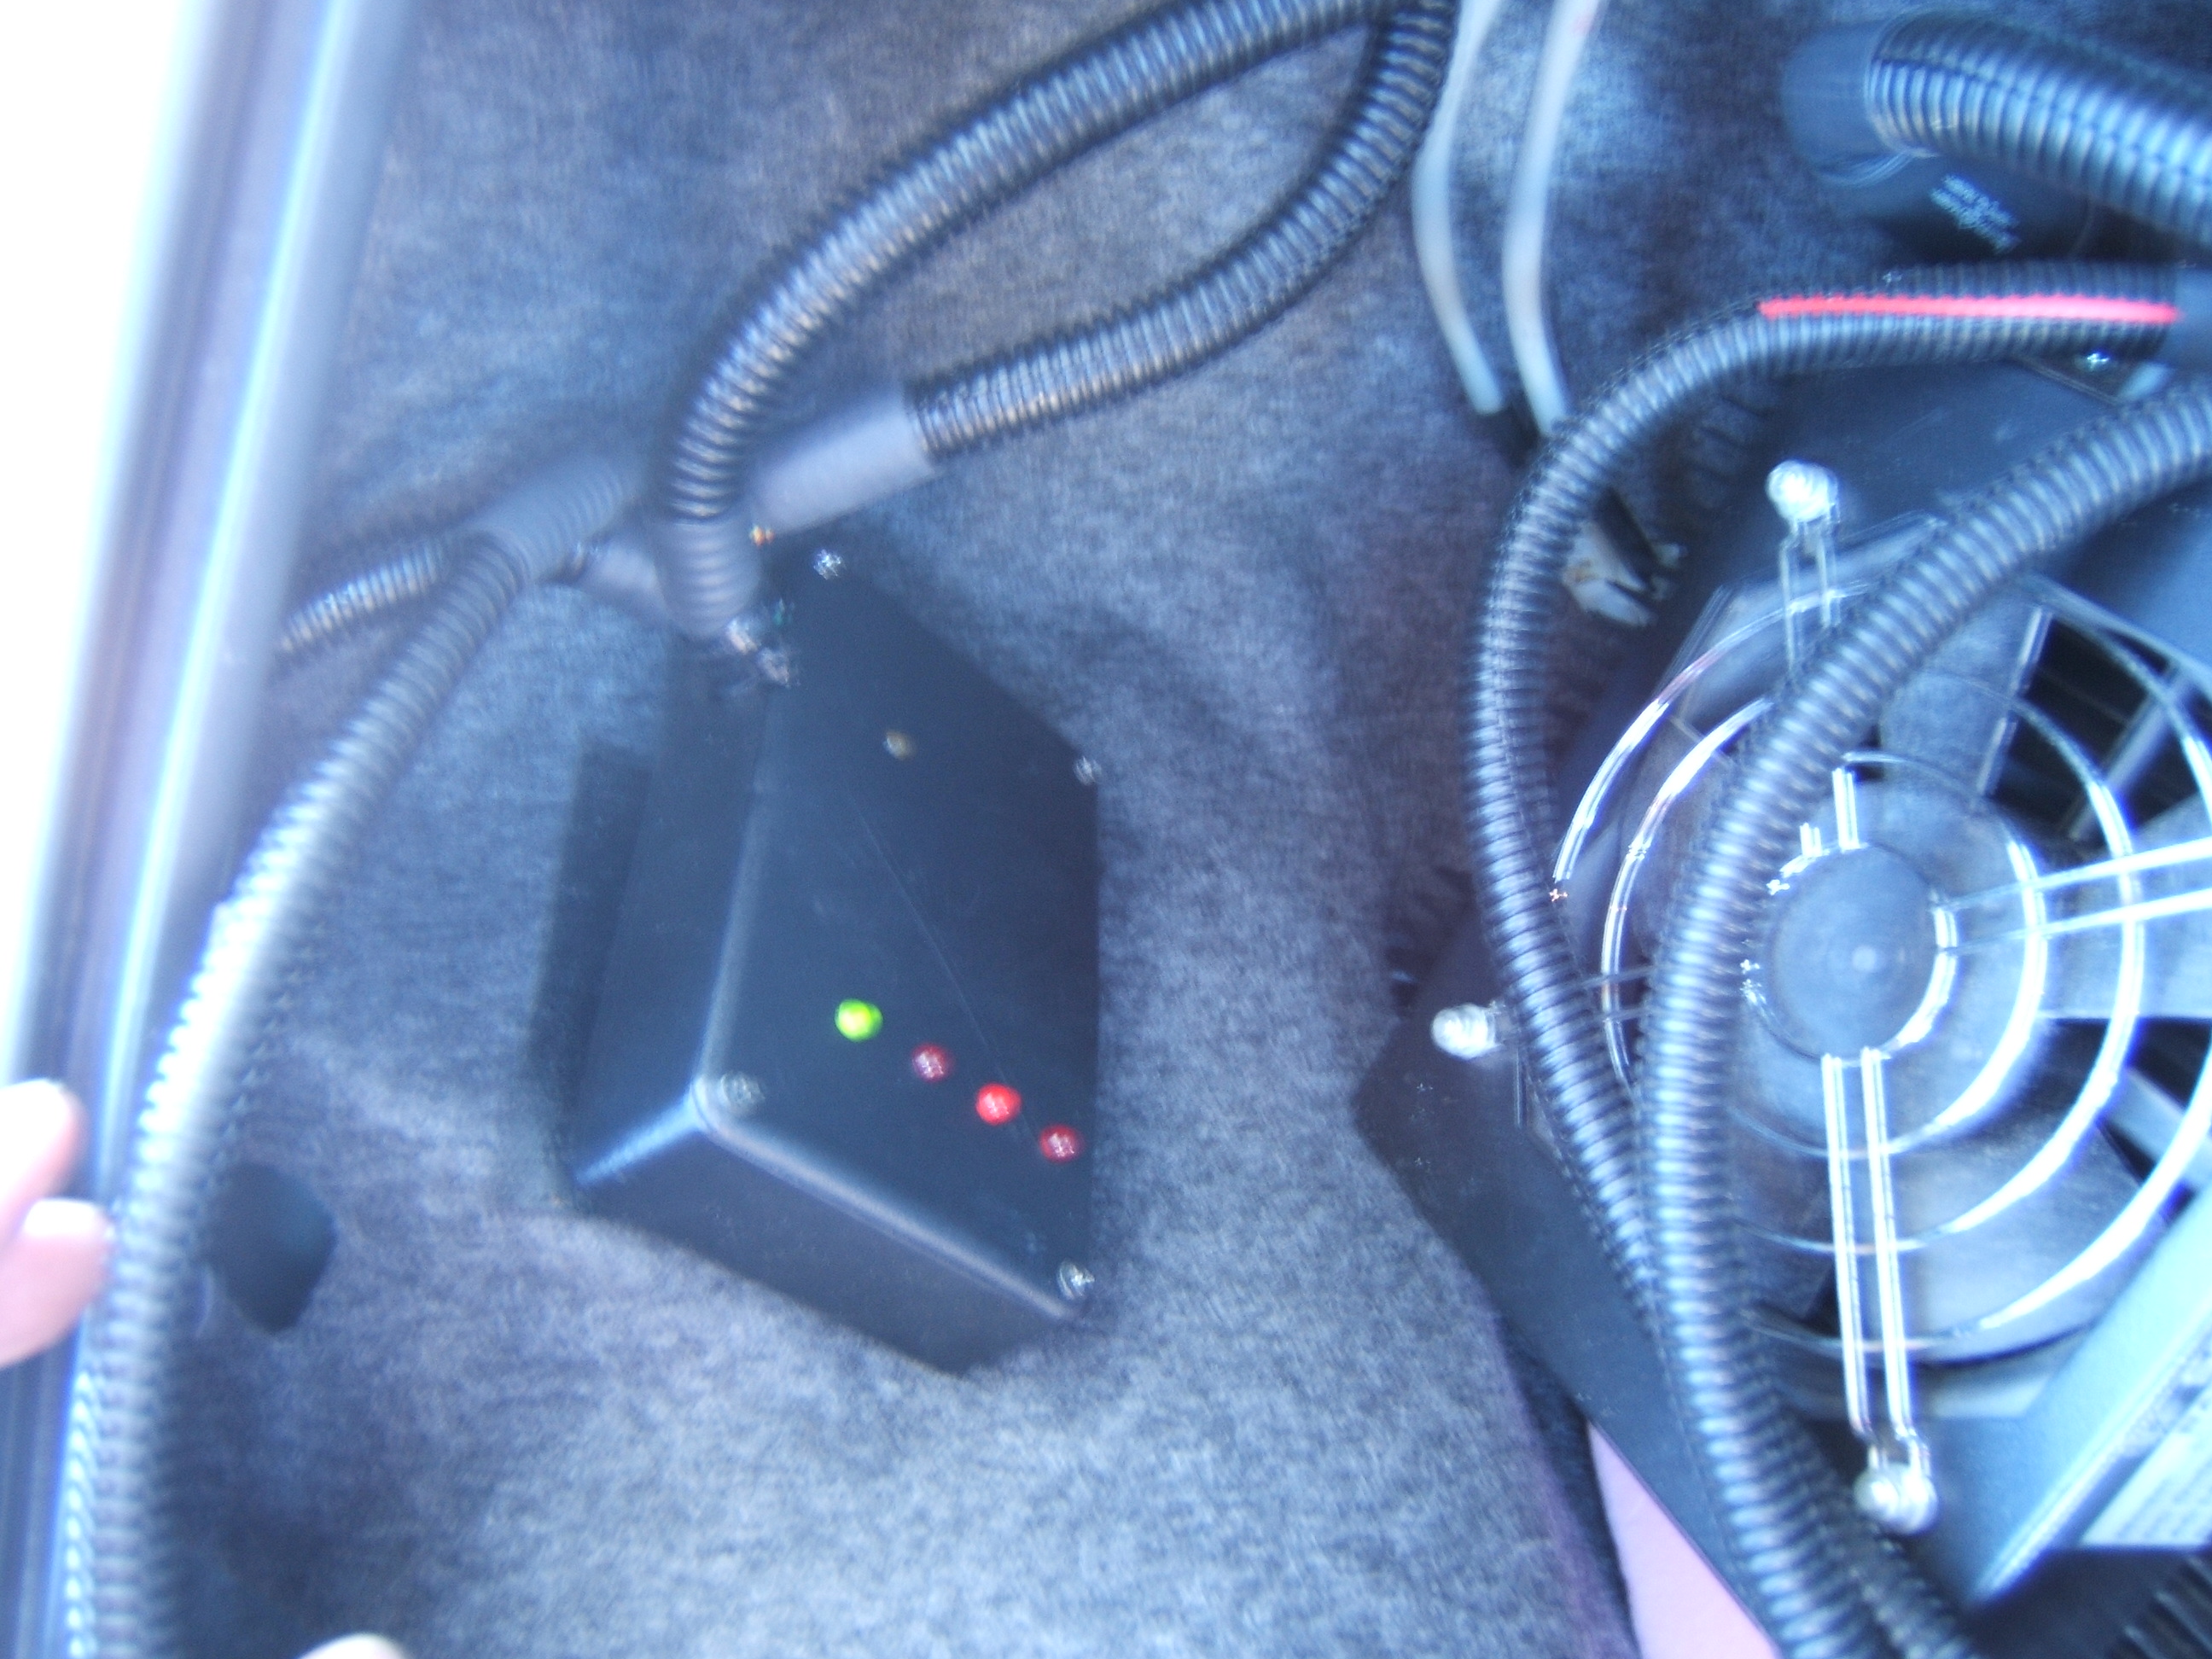
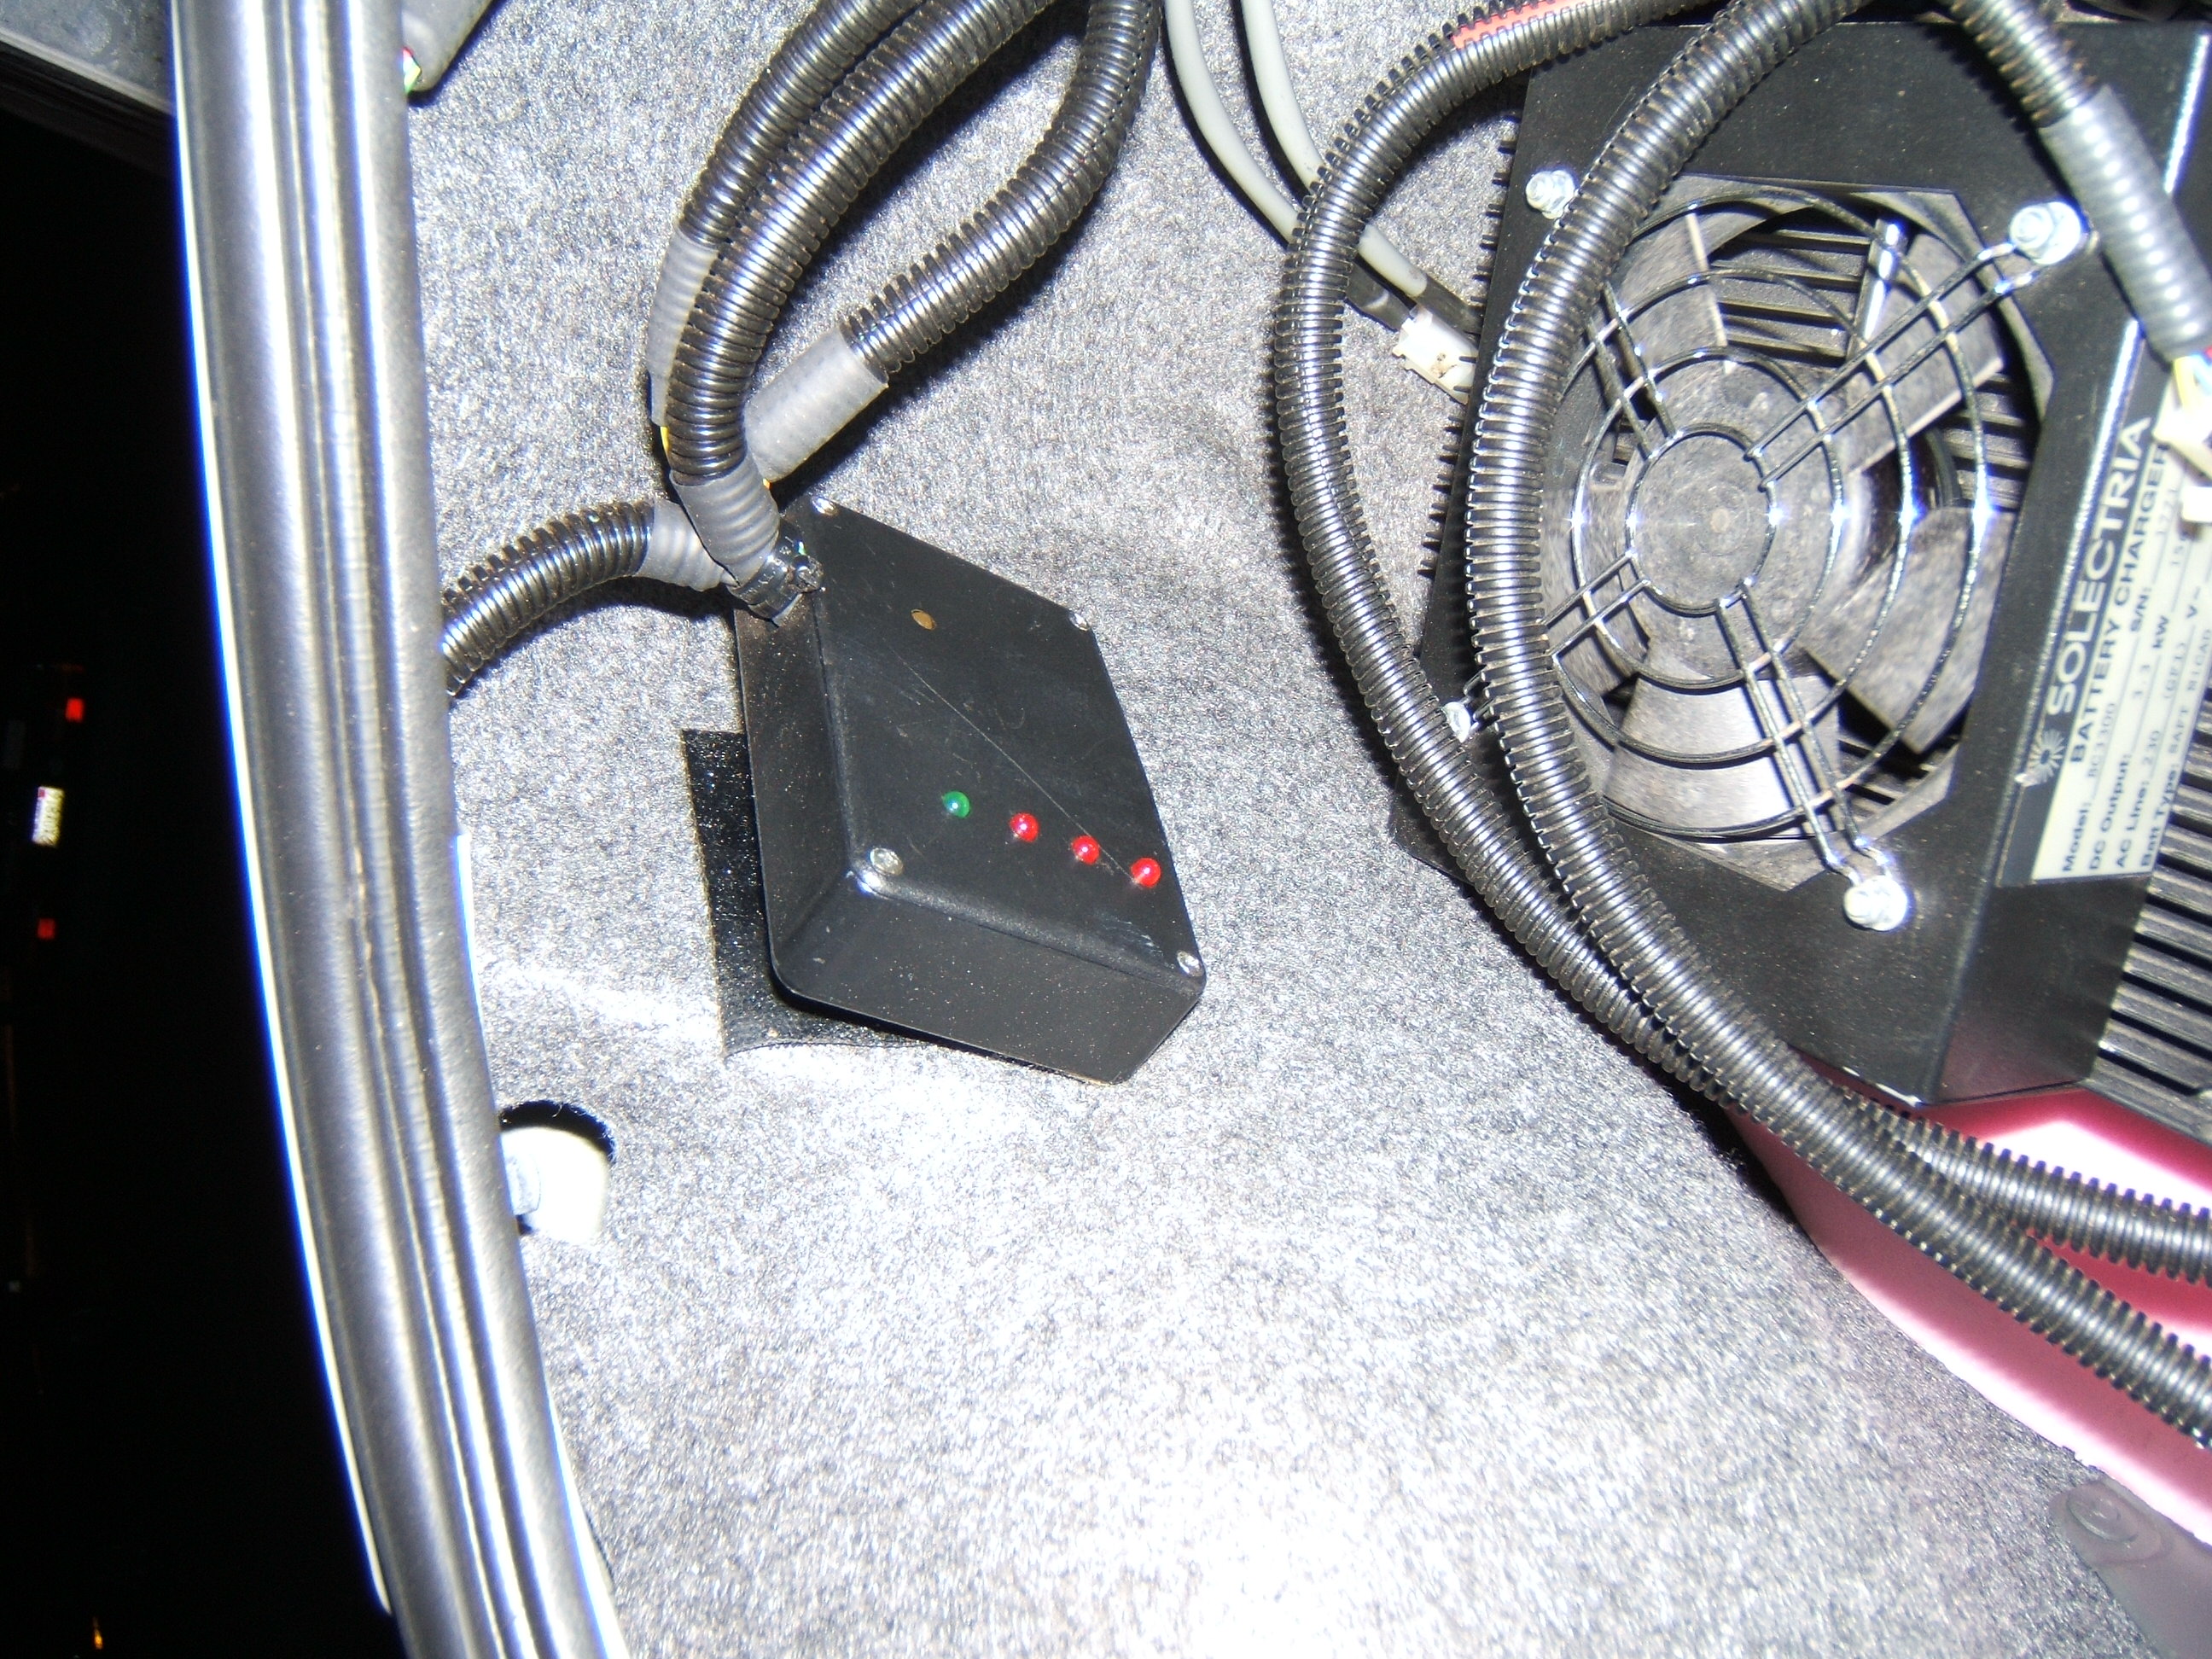
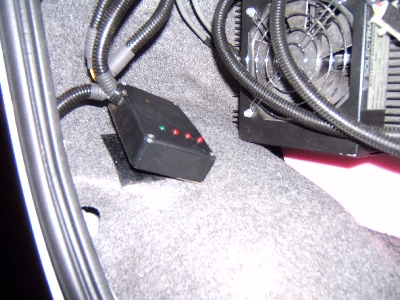
There is a corresponding green LED on the box in the trunk.
|
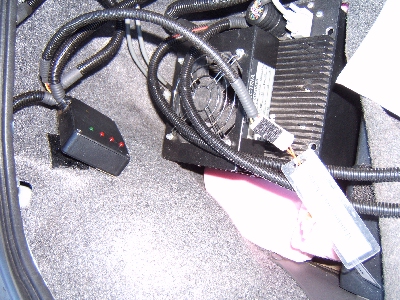
To initiate the watering procedure, the "Maintenance Charge" connector must be
inserted in the connector in the trunk which is attached to the LED box.
|
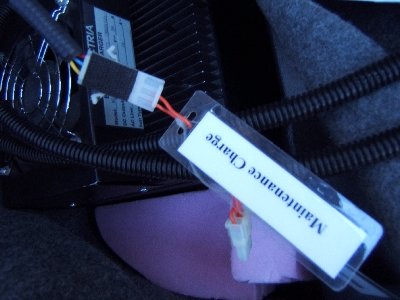
The "Maintenance Charge" connector simply shorts two pins on the connector.
|

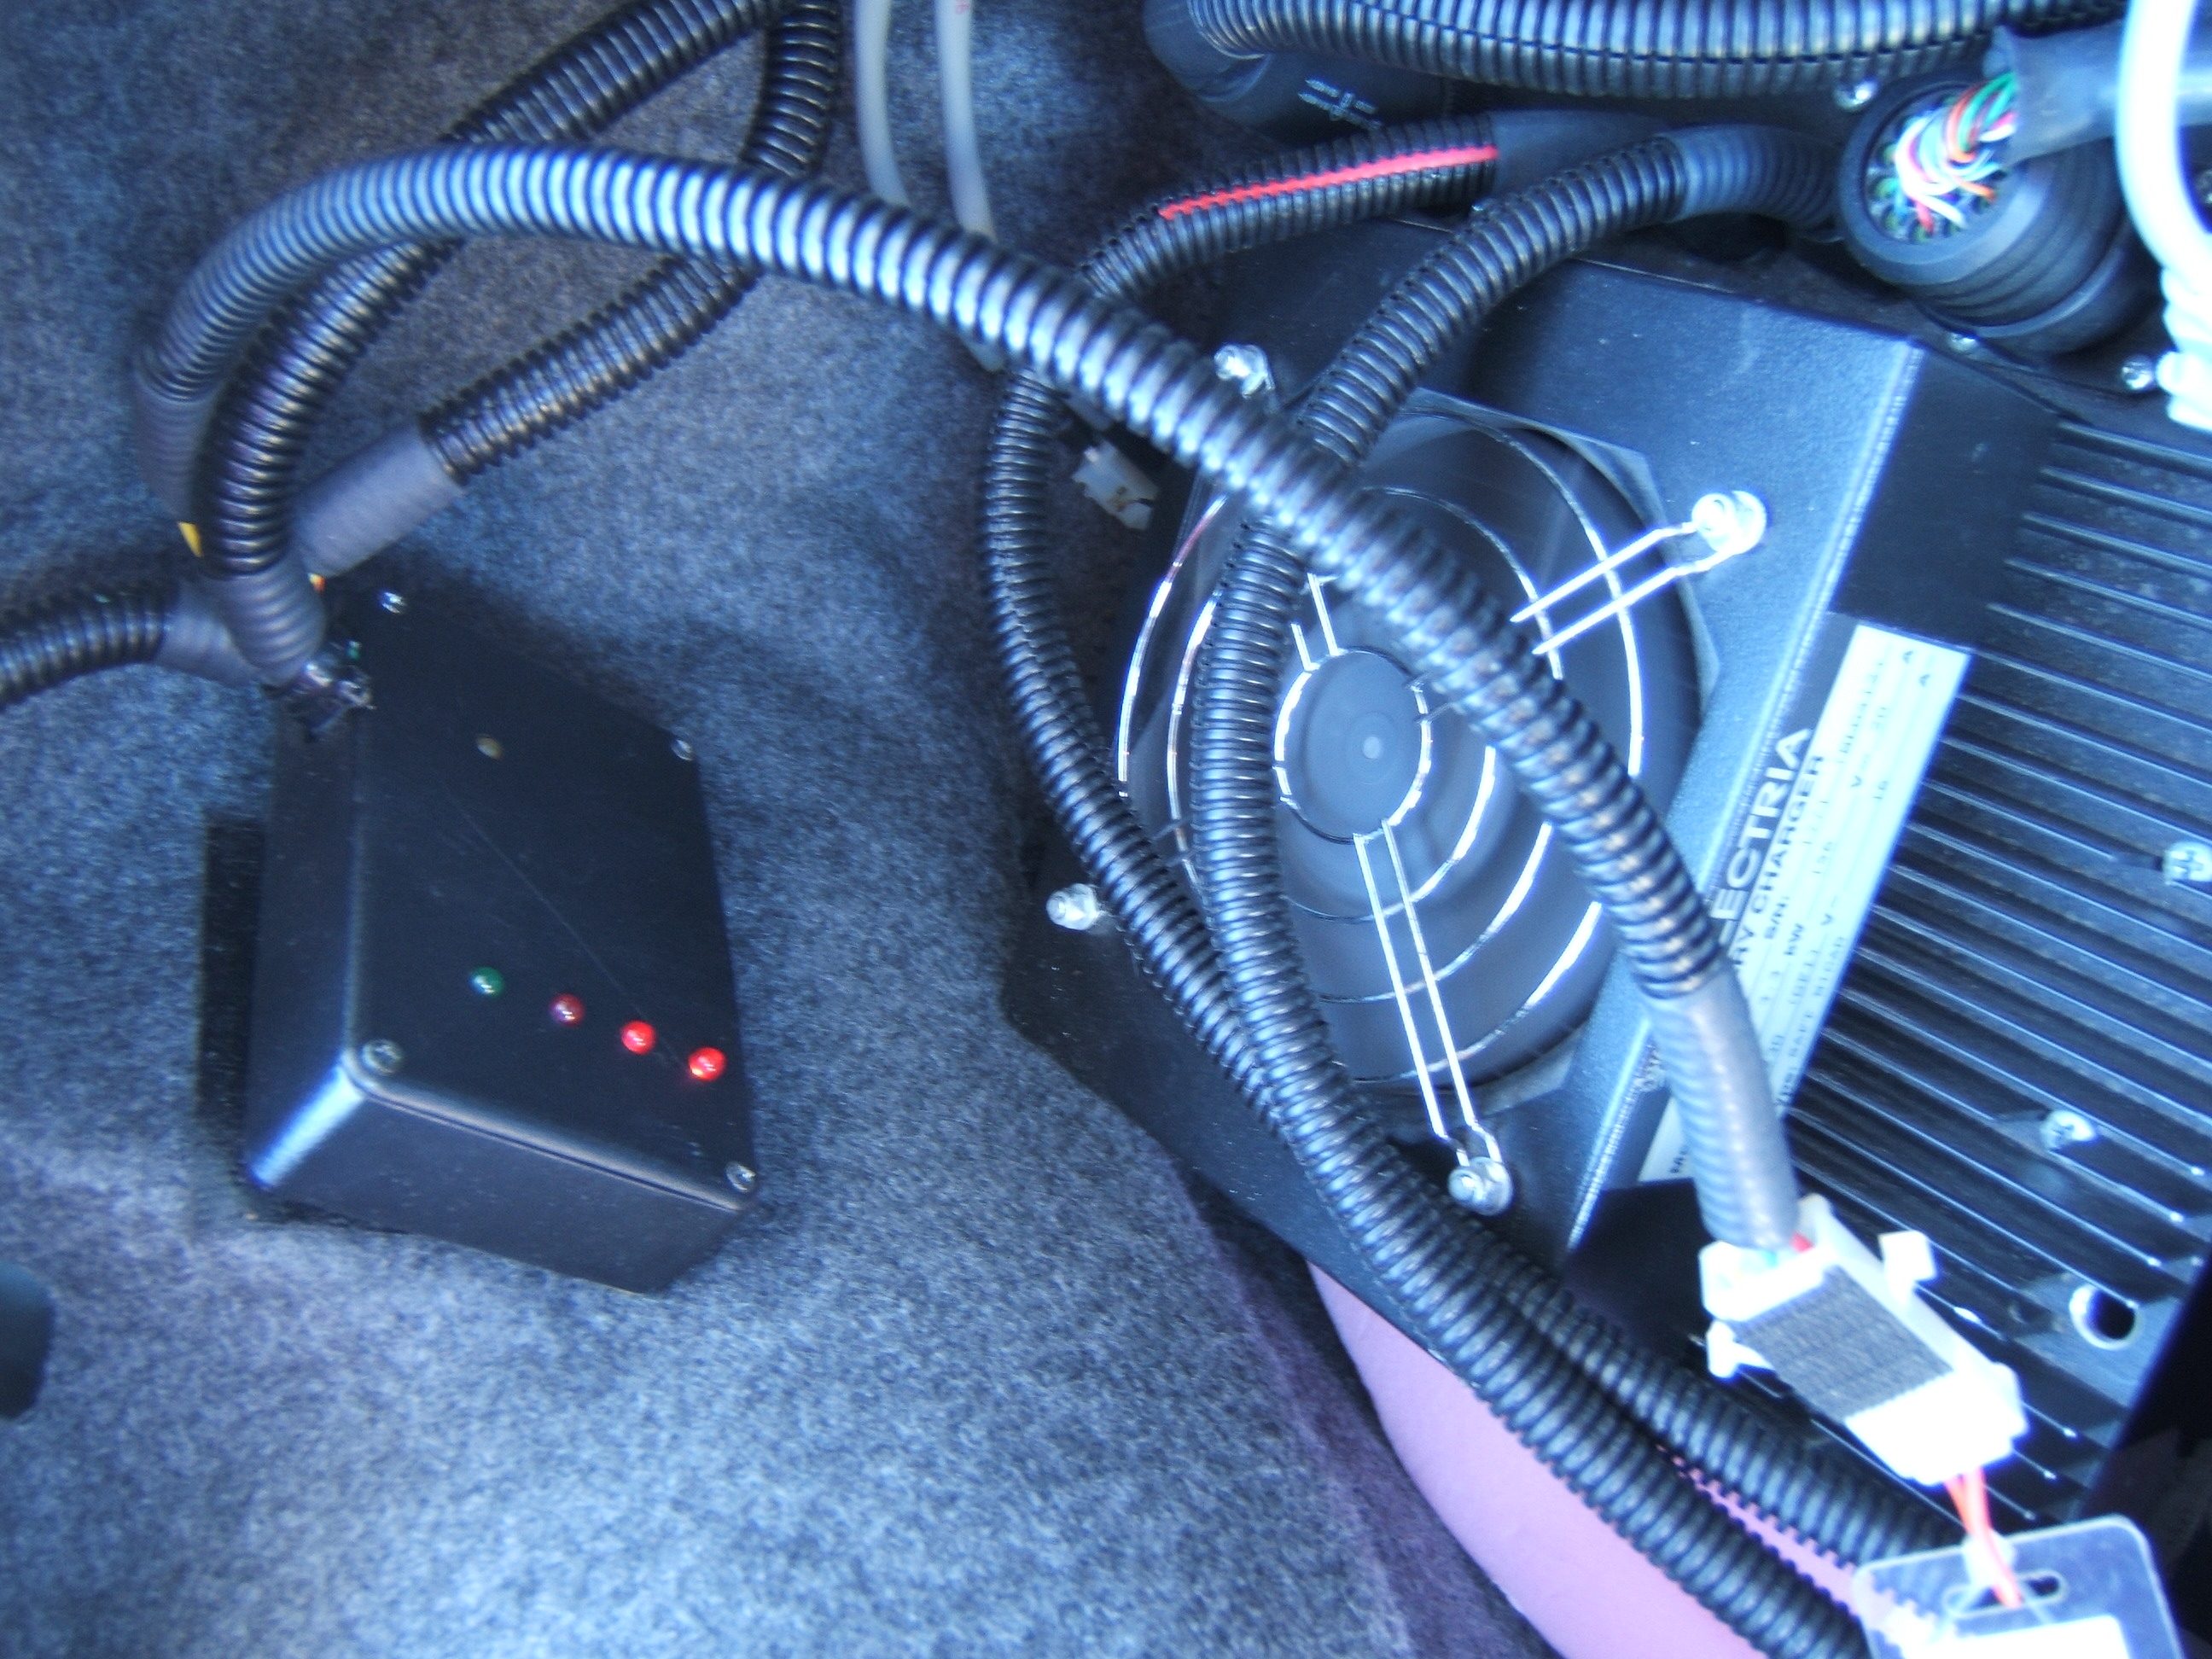
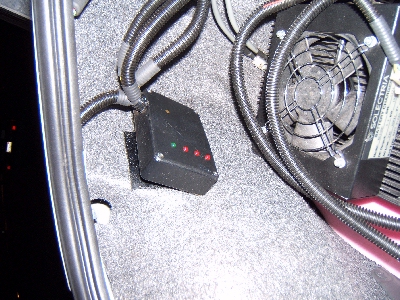
Next, the vehicle is plugged in and the green LED goes off and two of the red LEDs come on.
|

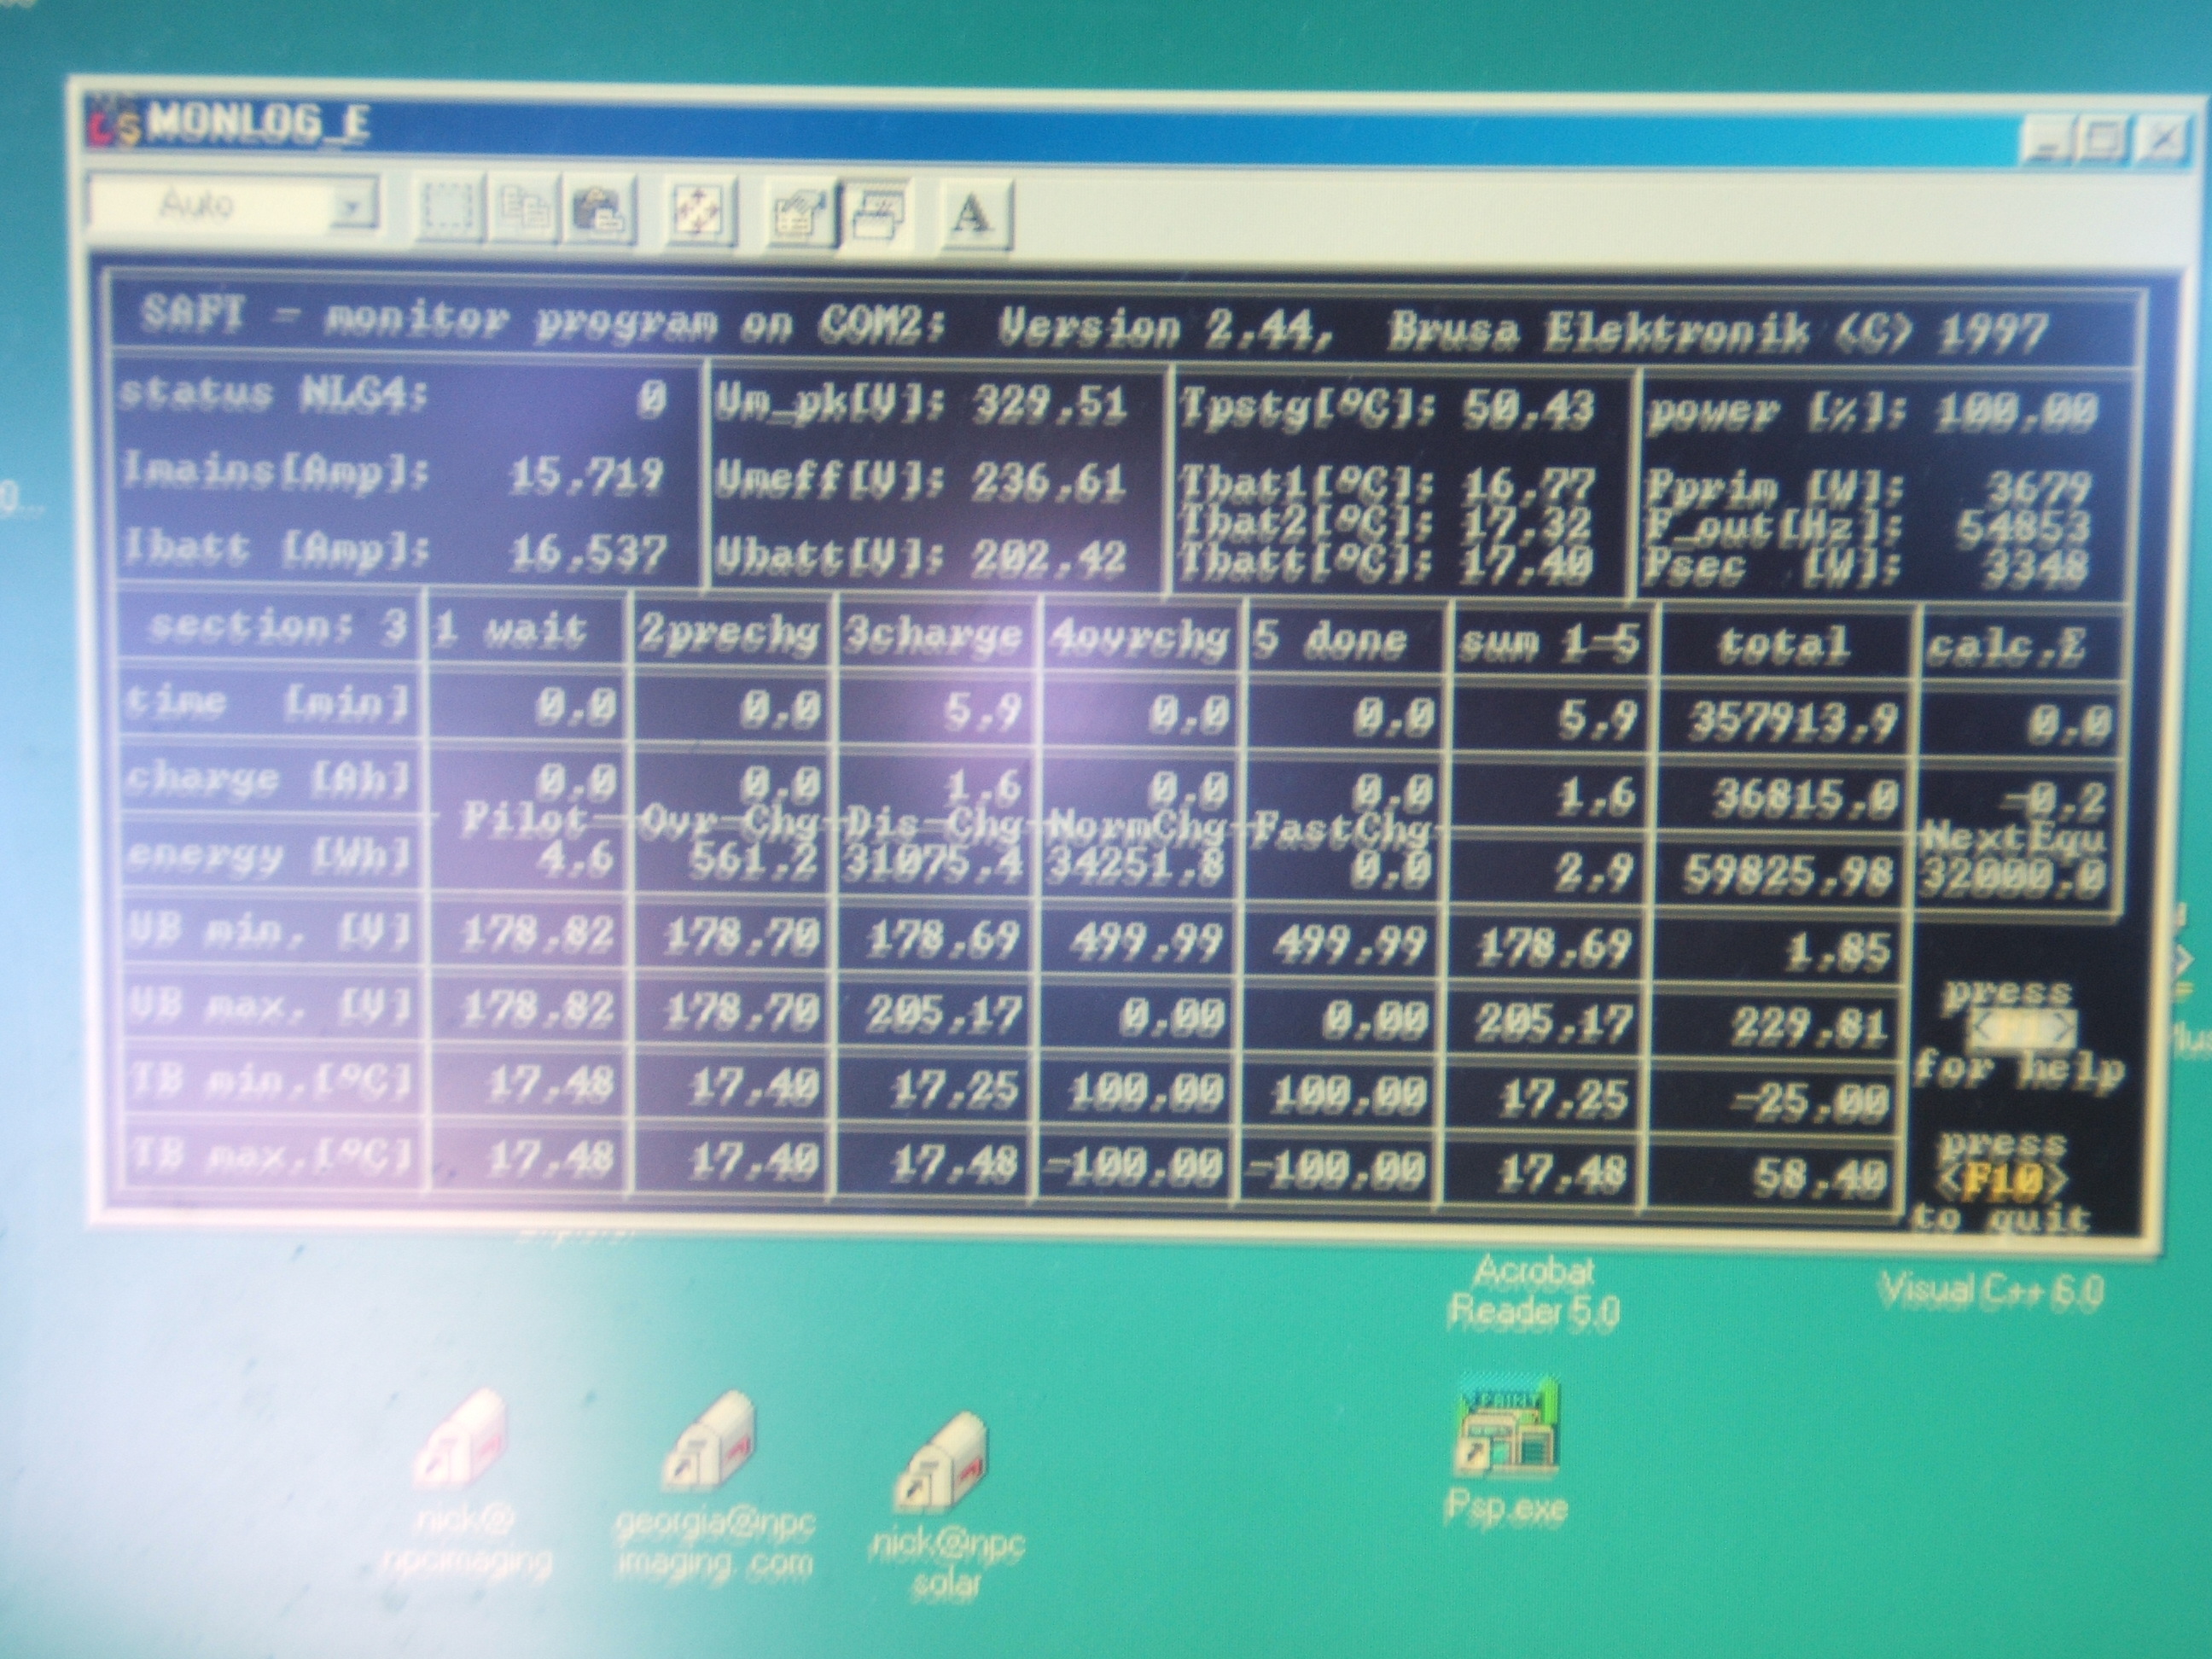
The normal charging process now commences. This is a screenshot of the Charger's monitoring program
showing the figure under the "Pilot" label counting down to zero. The number in the column labelled "3charge"
showing 5.9 counts up to show the number of minutes in that stage.
|
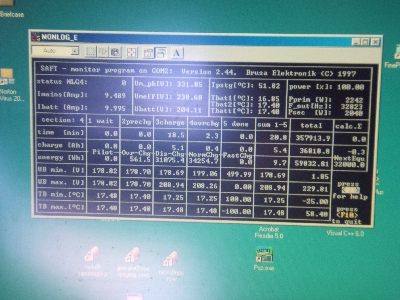
The regular charging is now complete and a five hour overcharge begins. The "Pilot" figure is now 0
and the figures under "4ovrchg" are now counting up, so the first line currently reading 2.3 will
count up to 300 (minutes). The charger reduces the current to 10A for this stage, as shown at the top left.
|
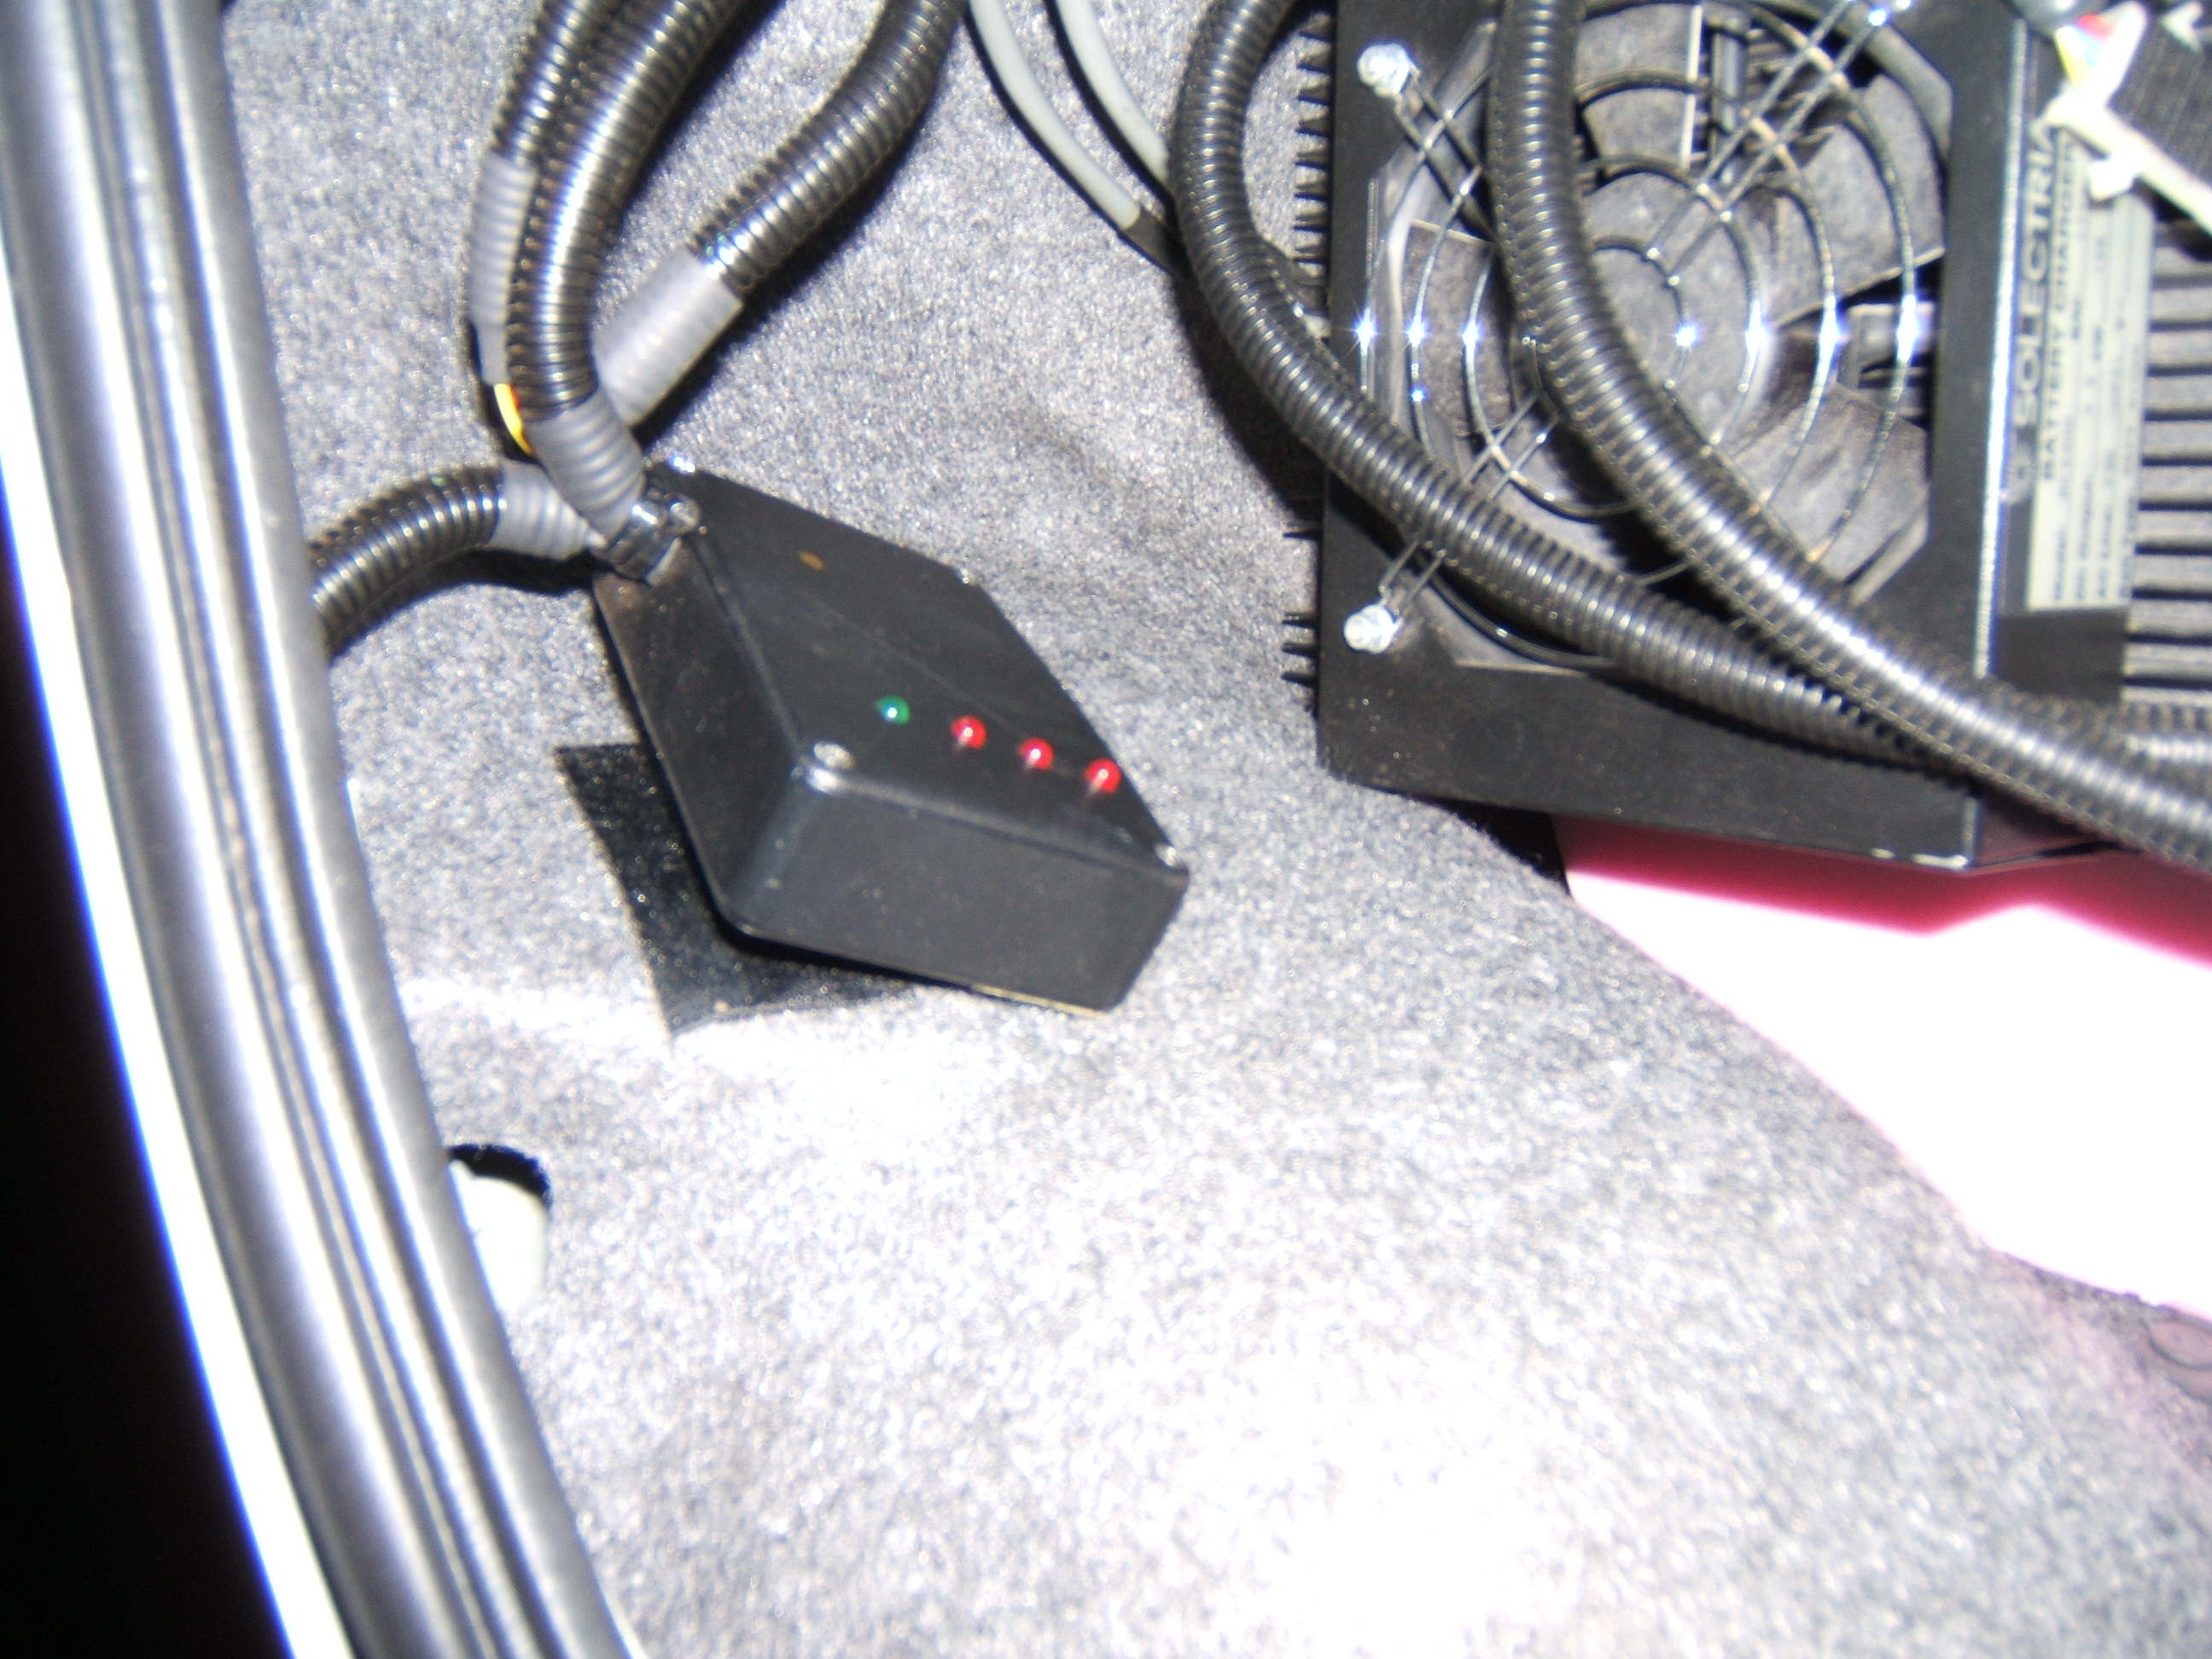
When the five-hour overcharge is complete, all the red LEDs on the trunk box are lit.
|
OK, so after five hours, it's dark... but I think those are all lit...
|
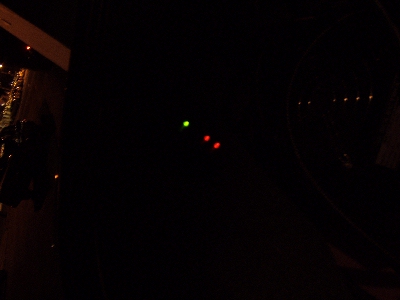
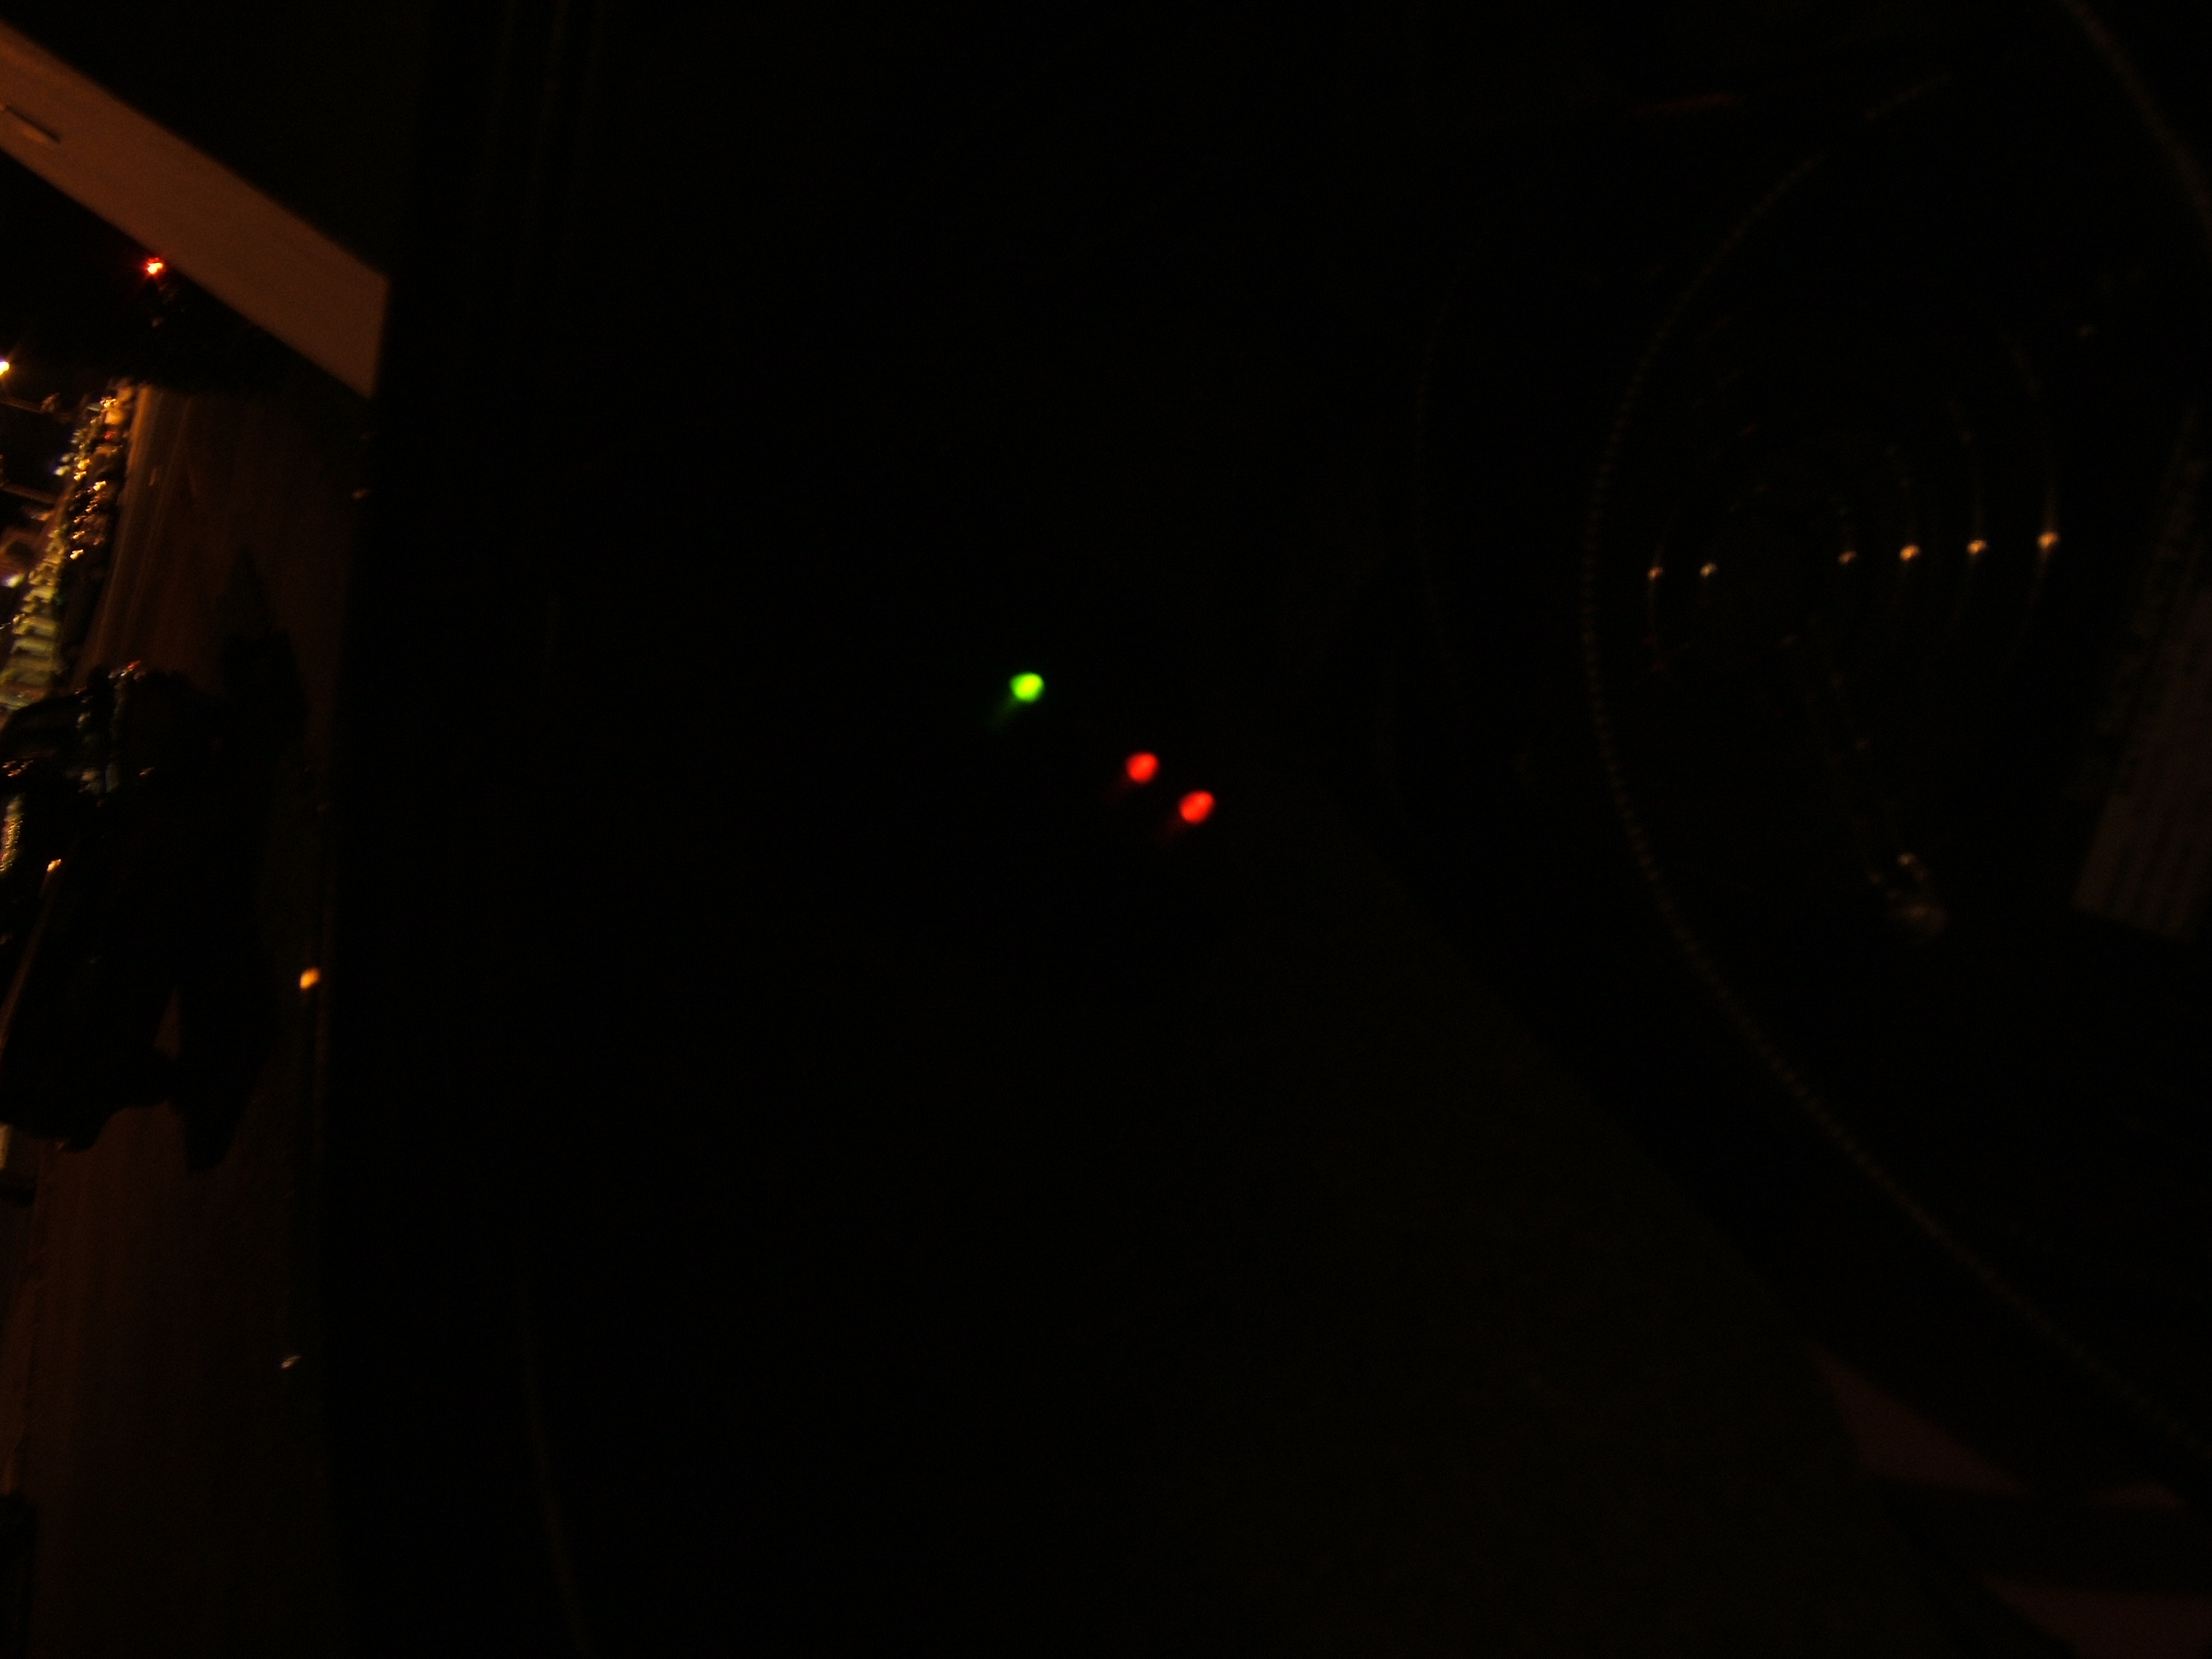
After a further 30 minutes in a resting state the charger does a further, 2-minute overcharge,
although it seemed shorter than that... during which two of the red LEDs and the green one are lit.
|
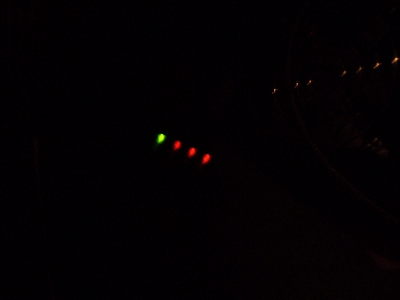
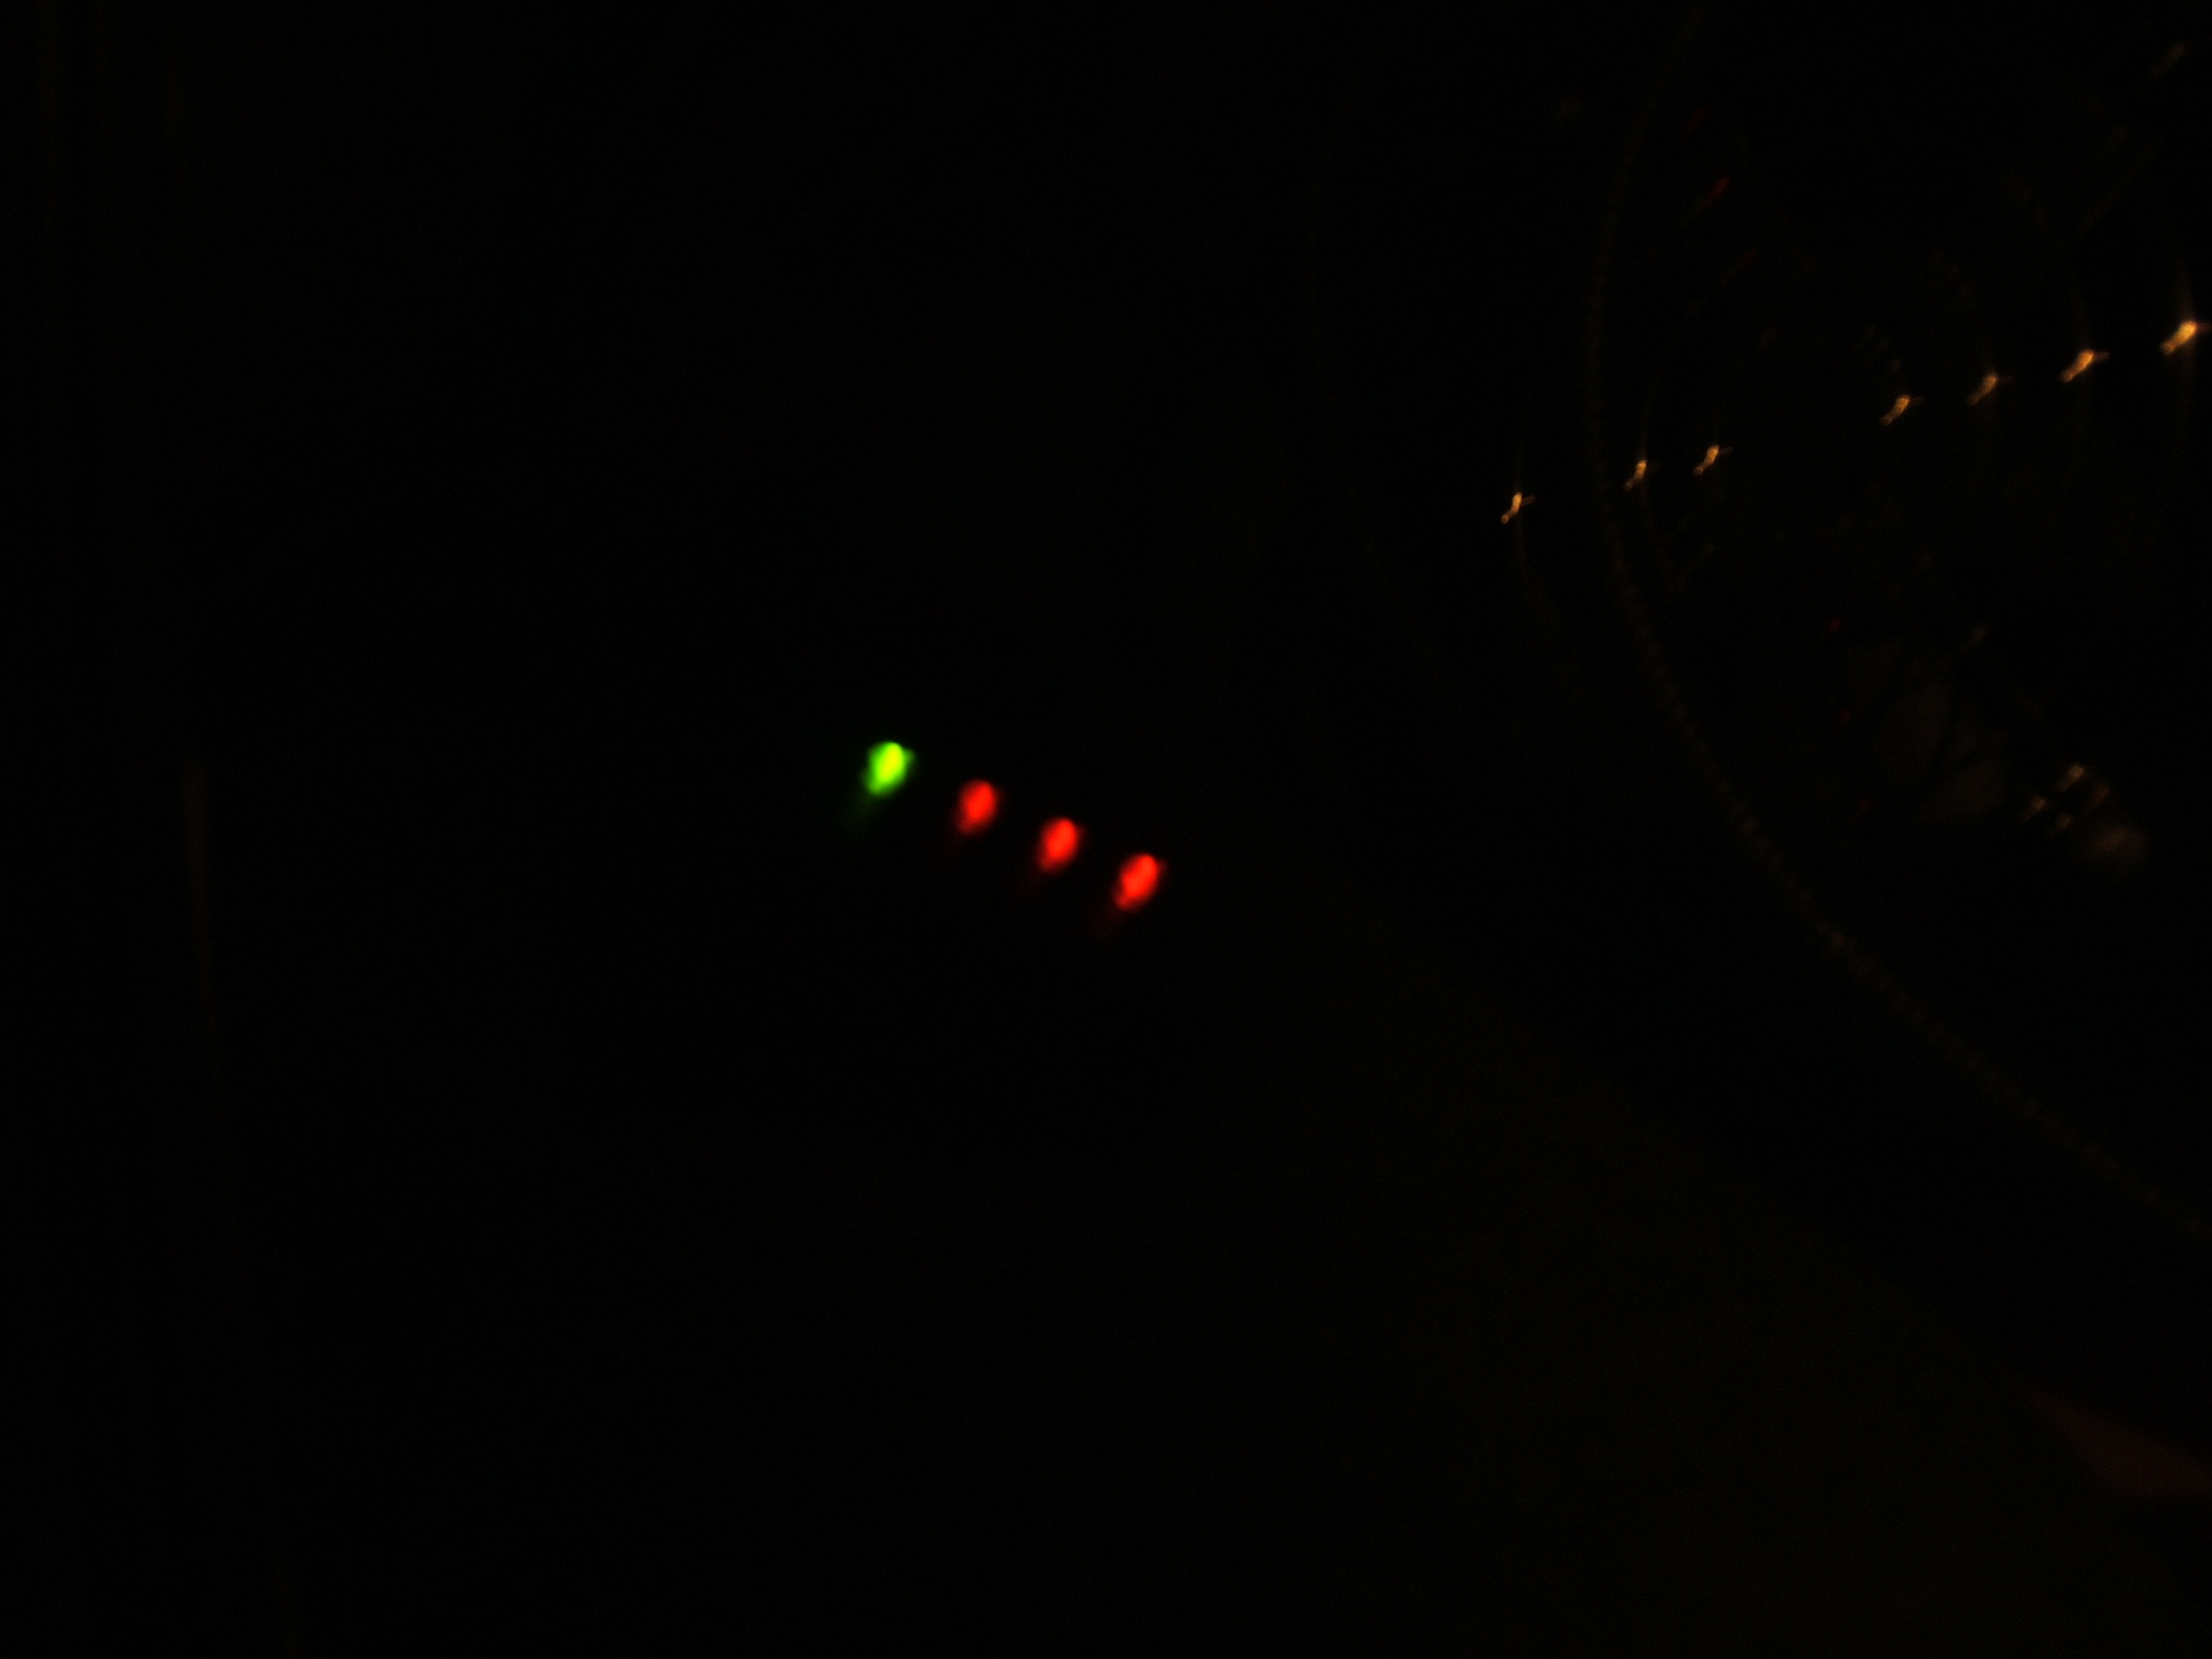
The charger then returns to the resting state in which the batteries can be watered, indicated by the
three LEDs and the green one all being lit. Apparently the 2-minute charge/30 minute resting sequence will
continue for the next 72 hours, although I went ahead and watered the batteries immediately. The "Watering
Confirmation" command connecter is inserted where the "Maintenance Charge" connecter was attached in order to
reset the overcharge counter. This can then be removed, the vehicle unplugged and the watering supply connected
in turn to the three watering hoses.
|
|
|
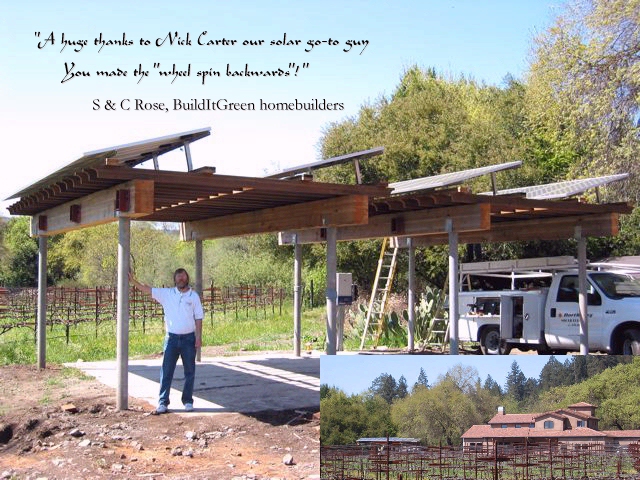
PV Design: npc Solar
PV Installation: North Bay
Solar Electric
Patio Structure: R.T.West
Photo: B. Larsen
|
|
 |
|
 |
|
 |
|
|
|

|
|
 NABCEP Certified